
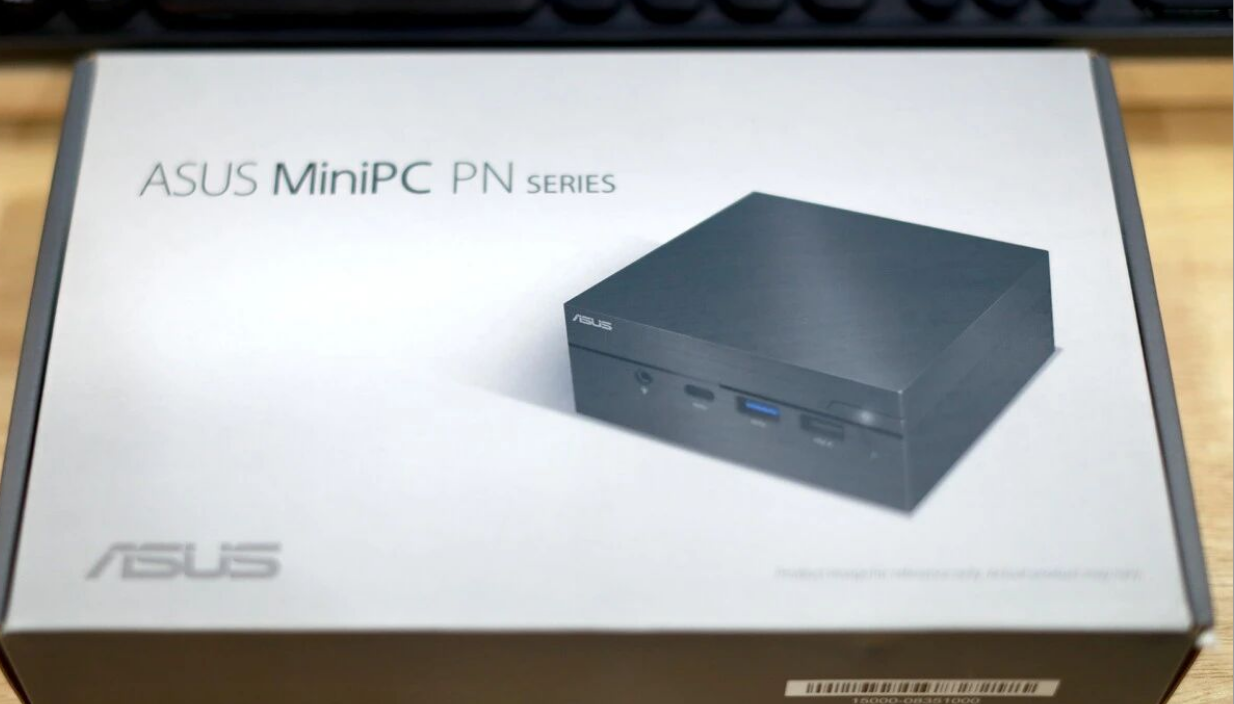
For most households and home offices, the era of the bulky tower PC is effectively over. Unless you are a hardcore gamer or a video editor, you don’t need a massive chassis to get work done. Enter the ASUS Mini PC PN60, a device that embraces the Intel NUC (Next Unit of Computing) philosophy: desktop performance in a package that fits in the palm of your hand.
If mATX represents the balance of desktops and ITX represents miniaturization, the PN60 represents the extreme evolution of space-saving efficiency. Here is a deep dive into its design, performance, and why the "barebones" approach might be the smartest way to buy your next computer.
Design and Build: Disappearing Act
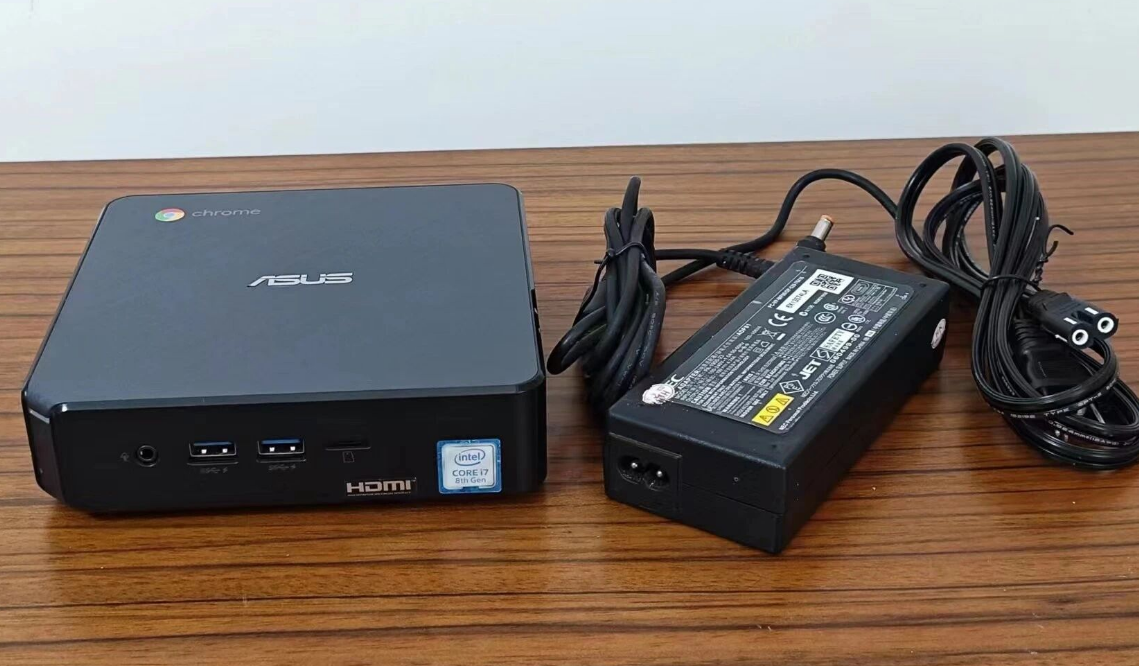
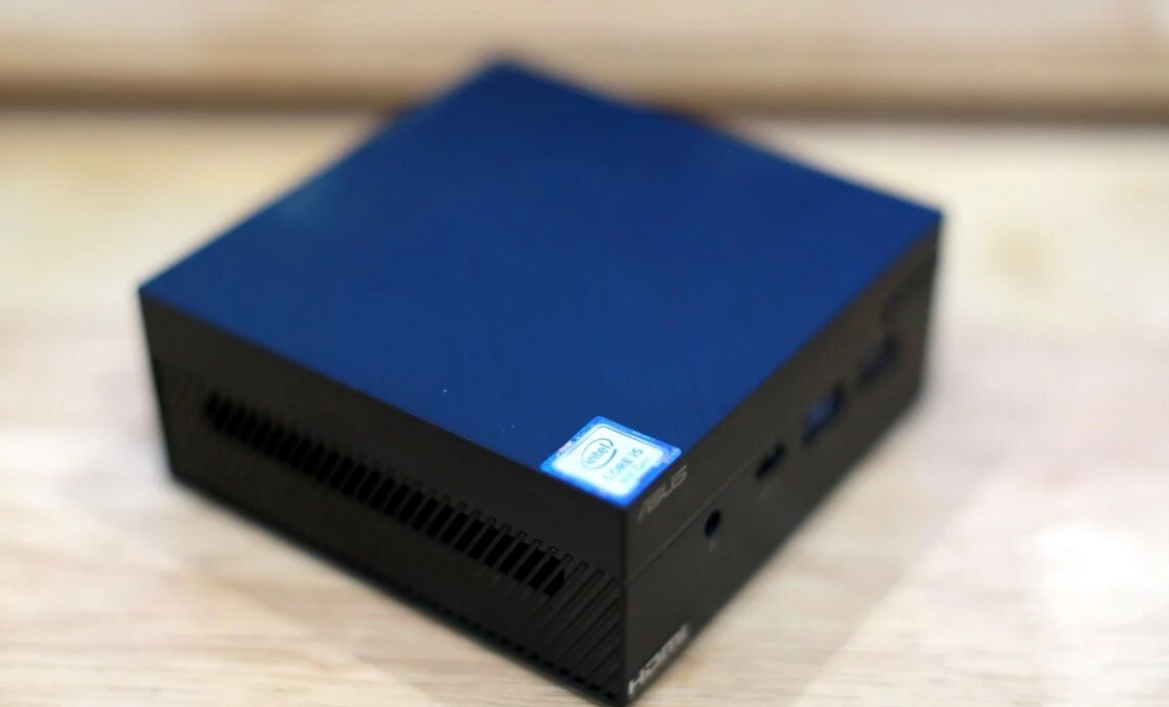
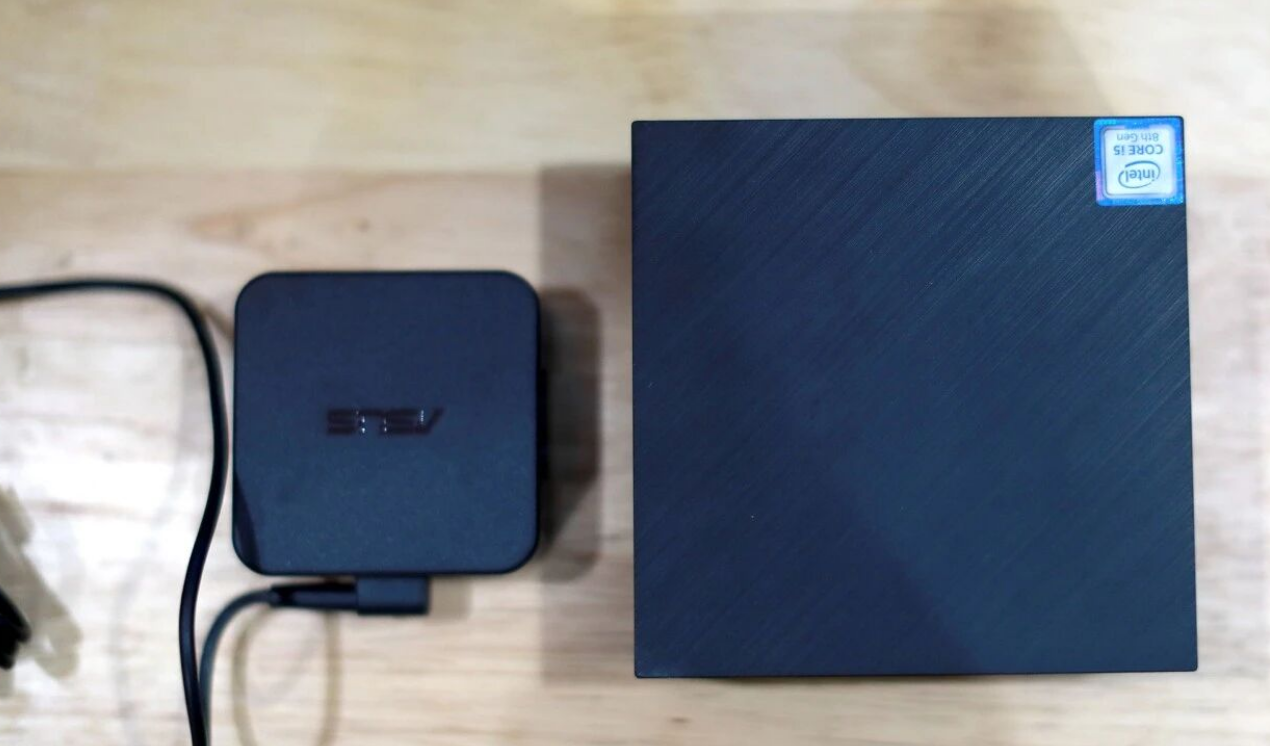
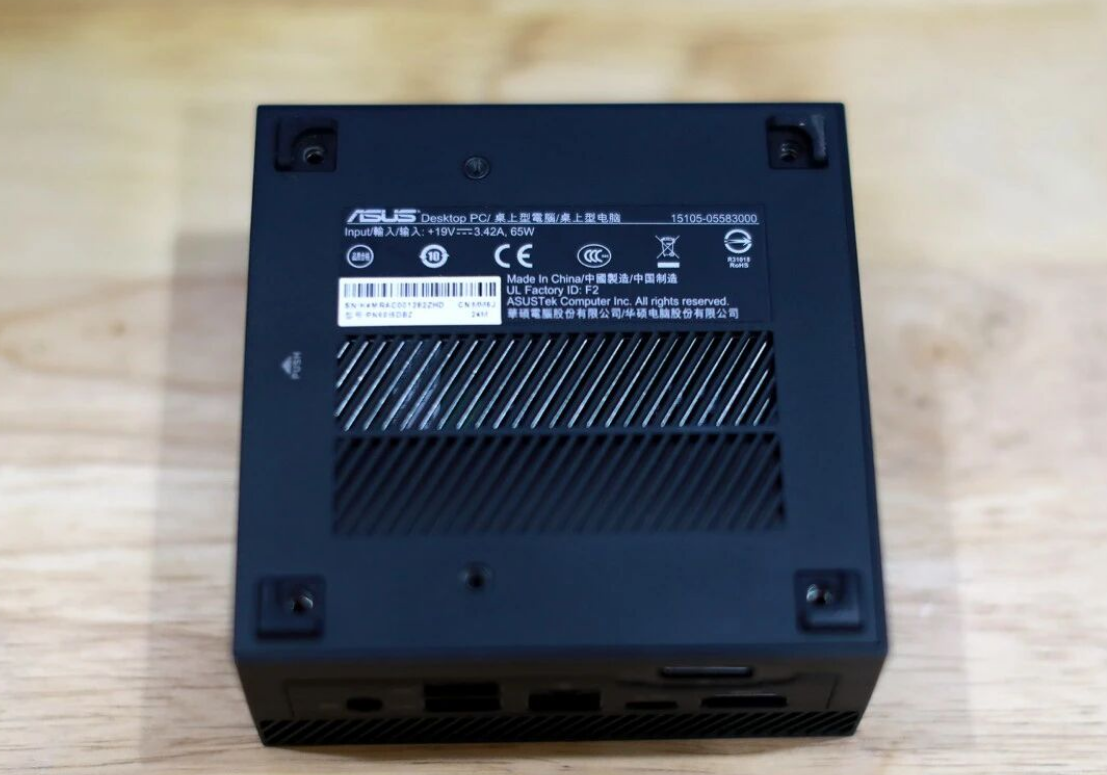
The first thing you notice about the PN60 is that you barely notice it. With a volume of just 0.62 liters (measuring roughly 4.5 x 4.5 x 1.9 inches), it has the footprint of two decks of playing cards. It features a brushed aesthetic that blends easily into living rooms, retail spaces, or modern offices.
Its true superpower, however, is its versatility. The unit comes with a VESA mount kit, allowing you to bolt the computer directly to the back of your monitor. This creates an "All-in-One" PC experience, completely clearing your desk of clutter.
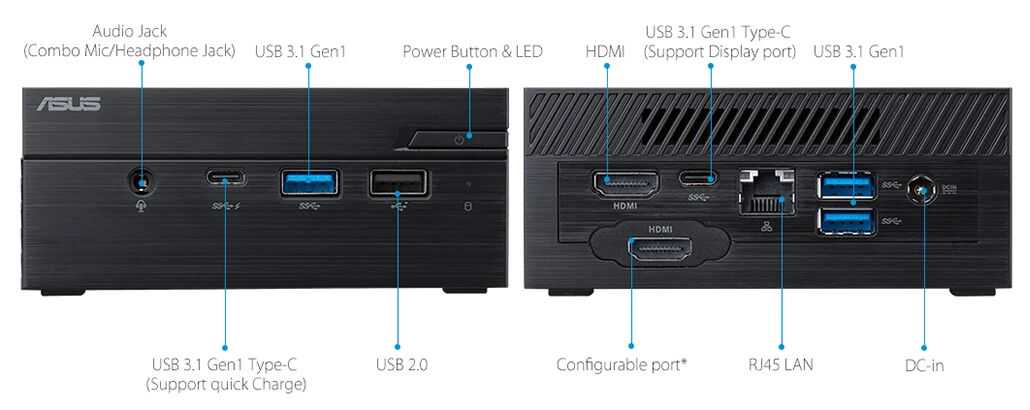
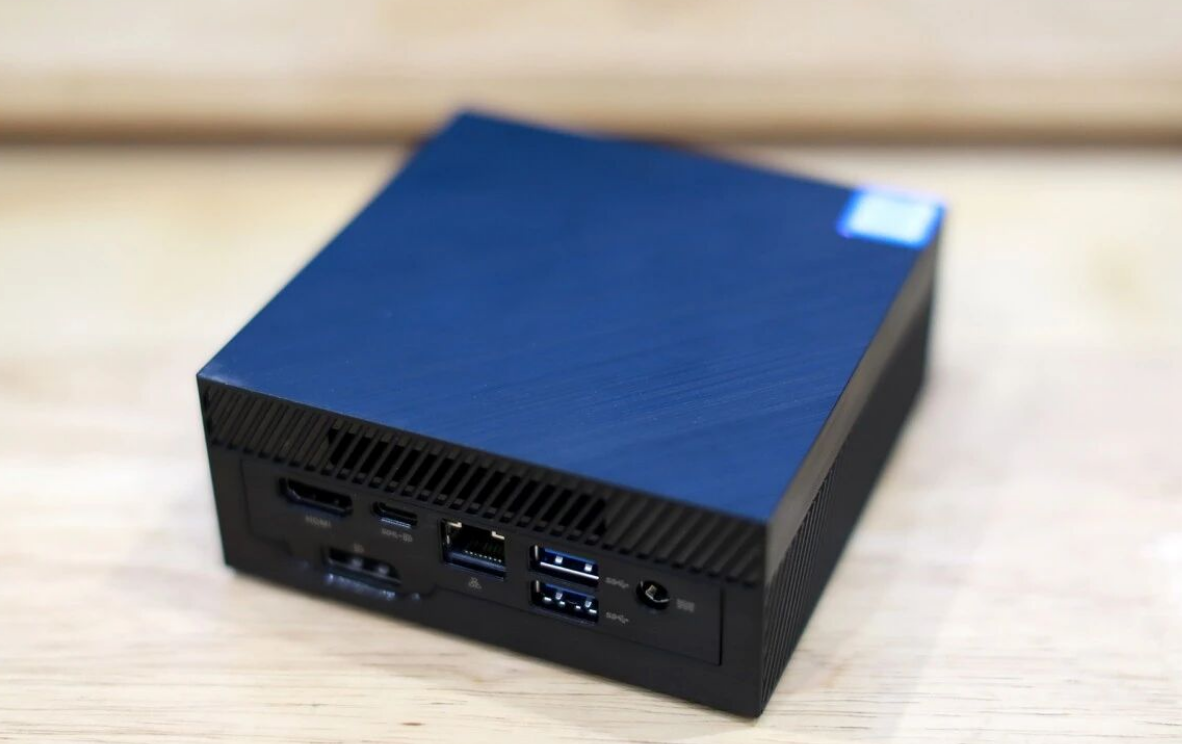
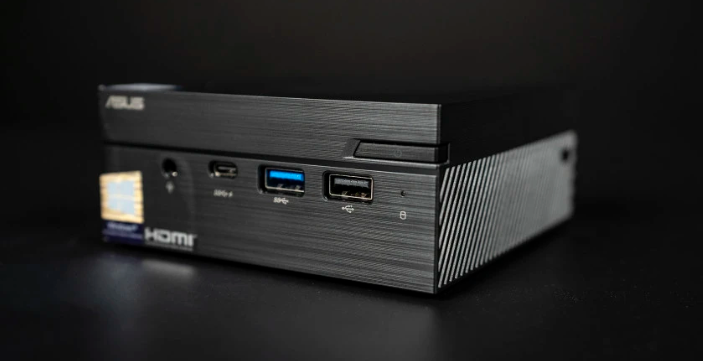
Despite its size, connectivity is robust:
• Front: USB 3.1 Gen 1 Type-C (with Fast Charge), USB 3.1, and Audio jack.
• Rear: HDMI 2.0, Mini DisplayPort (configurable), and additional USB ports.
• Networking: Gigabit LAN and Wi-Fi
.
The "Barebones" Advantage: Why DIY is Better
In the US market, you can often buy these units as "Barebones" kits—meaning they come with the CPU, motherboard, and Wi-Fi card, but no RAM and no Storage.
While buying a pre-built unit with Windows 10 pre-installed is easier, going the barebones route offers significant advantages for stability and performance:
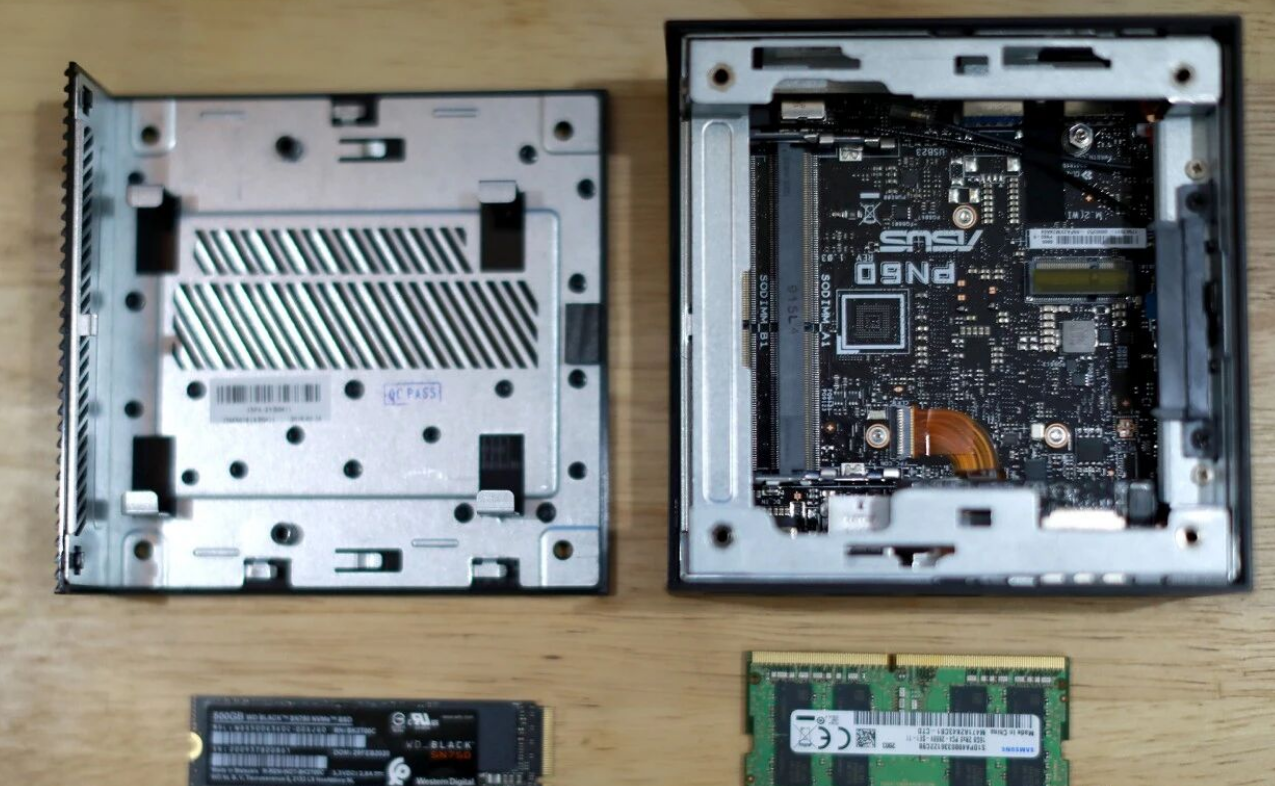
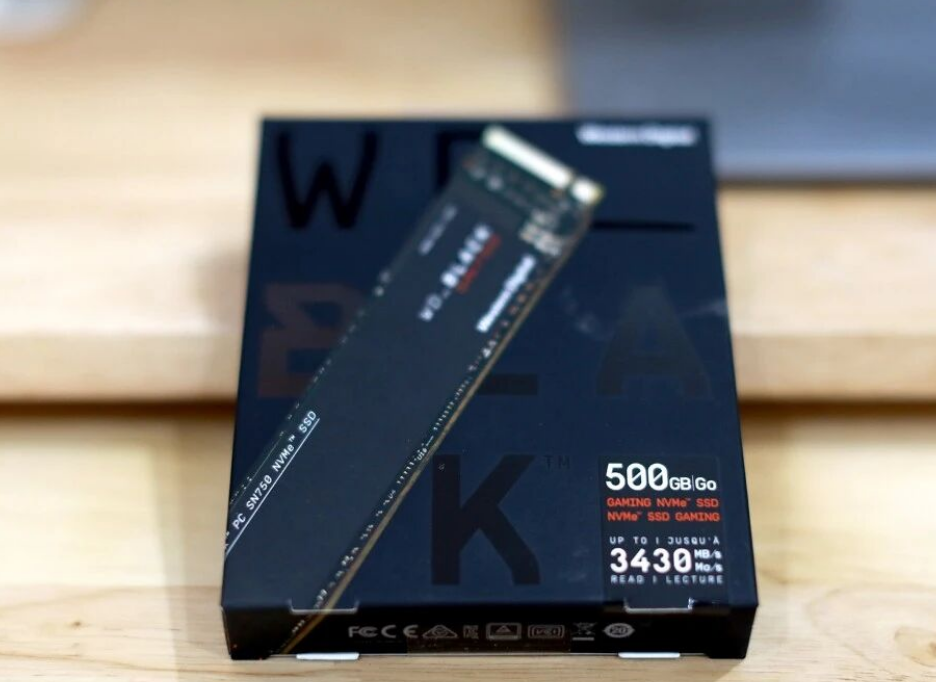
1. Quality Control: Pre-builts often use generic RAM or SSDs. By buying the chassis separately, you can install premium components, such as Samsung DDR4 memory or Western Digital Black SN750 NVMe SSDs, ensuring better reliability.
2. Cost Efficiency: You only pay for the capacity you need
.
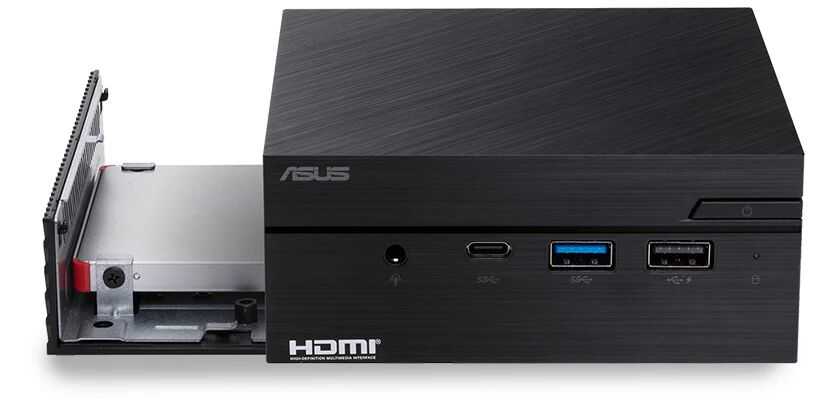
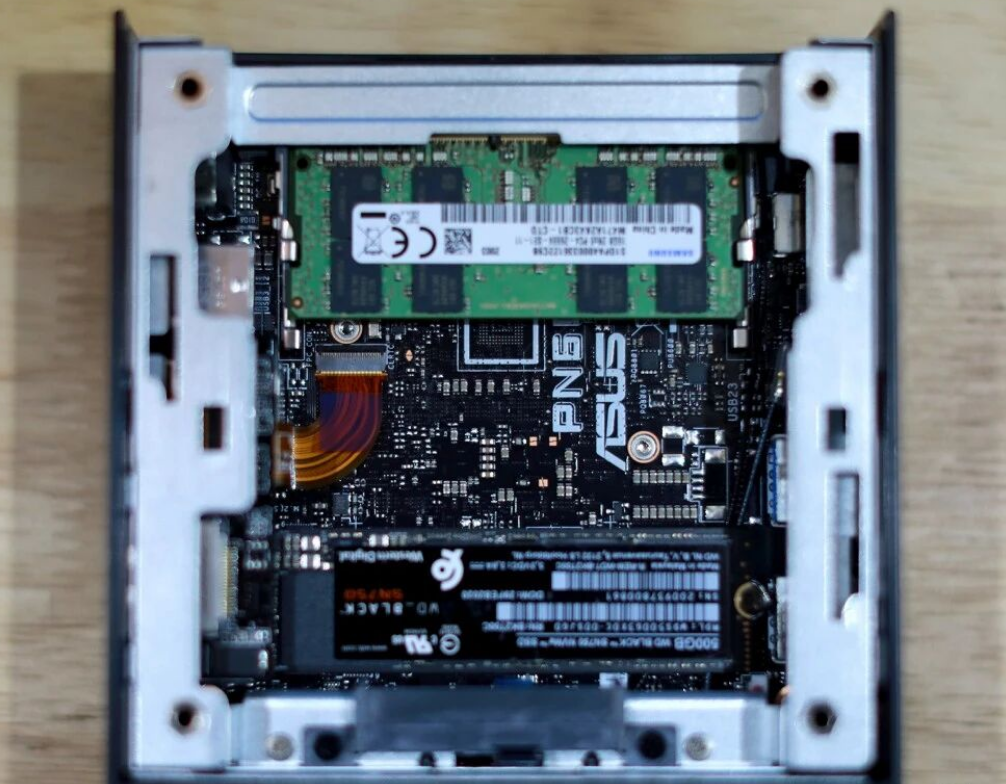
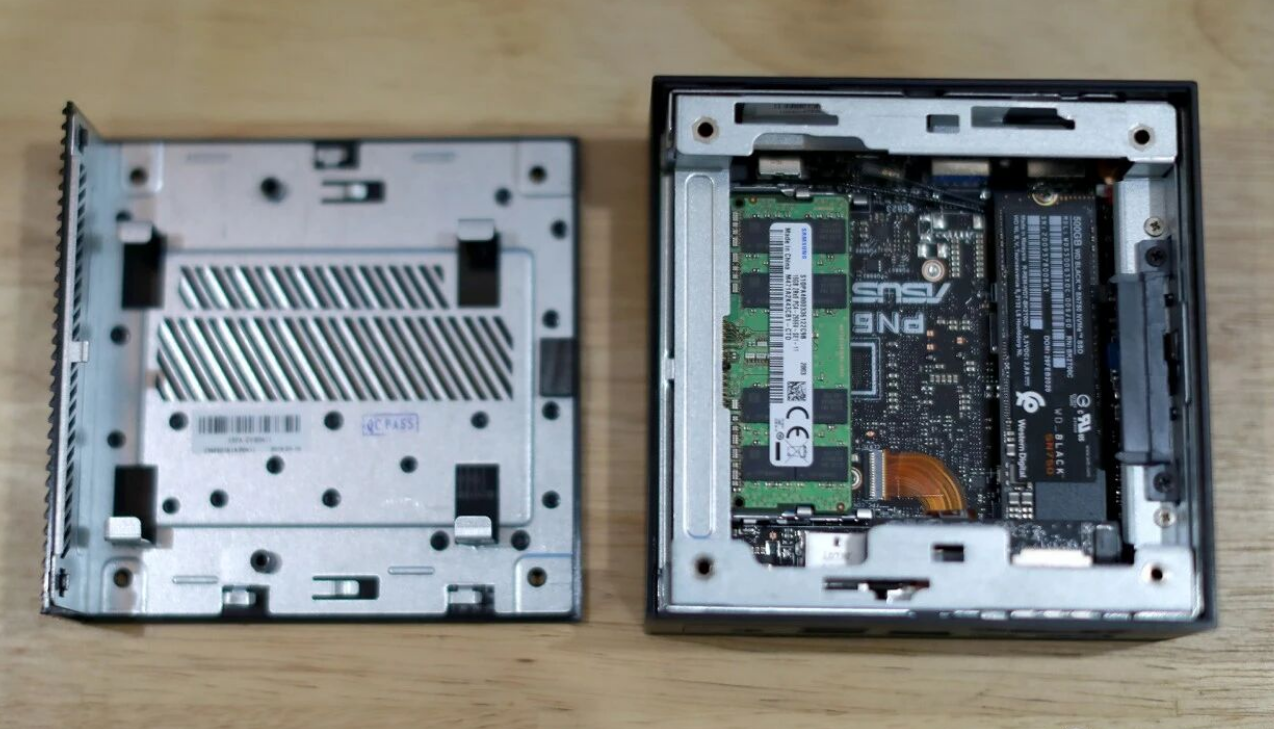
The Upgrade Experience
ASUS has engineered a sliding chassis design that makes upgrades incredibly simple. You only need a screwdriver. Remove a few screws, slide the case open, and you have immediate access to:
• 2 x SO-DIMM RAM slots: Supports up to 32GB of DDR4 2400MHz memory (significantly faster and more efficient than older DDR3 standards).
• 1 x M.2 Slot: For high-speed NVMe or SATA SSDs.
• 1 x 2.5-inch Bay: For a traditional SSD or high-capacity HDD.
Critical Thermal Warning: While the dual-storage design (M.2 + 2.5" drive) is excellent for balancing speed and capacity, power users should be aware of a design trade-off. The 2.5-inch drive mounts to the bottom plate. If installed, it can partially obstruct the bottom ventilation intake. If you plan on running sustained high-load tasks, sticking to a single M.2 drive might offer better thermal headroom.
Performance: What Can It Handle?
Powered by an 8th Gen Intel Core i5-8250U, the PN60 uses a low-voltage processor similar to those found in premium ultrabooks.
• Productivity: For web browsing, Office suites, and multitasking, it performs on par with a mid-range laptop. It handles 4K output effortlessly via Intel UHD Graphics,
making it a viable dual-monitor workstation.
• Media Center (HTPC): This is a killer application for the PN60. It supports 4K UHD playback perfectly.
• Noise Levels: It is exceptionally quiet. At idle, it generates just 19 dB (whisper quiet), and even at full load, it only reaches 34.2 dB, making it suitable for bedrooms or libraries.
• Durability: ASUS claims these units undergo rigorous testing, including vibration, drop, and thermal shock tests ranging from -40°C to 60°C.
Setup Guide for DIYers
If you choose the barebones route, here is the quick-start path to getting up and running:
1. Hardware Install: Slide open the case and snap in your RAM and M.2 SSD.
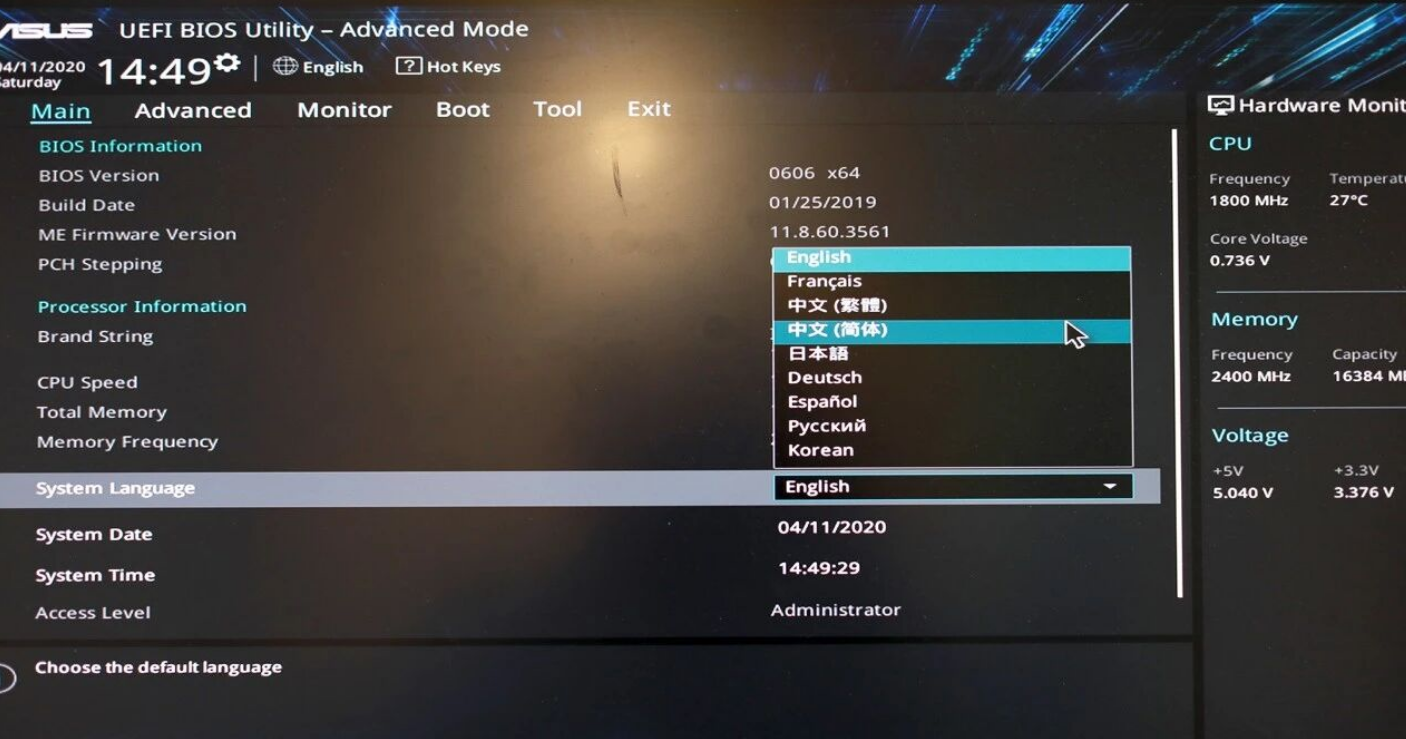
2. BIOS Prep: Insert your Windows bootable USB drive. Power on and hit F2 to enter BIOS. Ensure your language is set to English and set the USB drive as the primary boot device.
3. Pro-Tip for Storage: When installing Windows, if you are using a tool like DiskGenius (often found in PE environments) to prep your drive, ensure you select "4K Alignment" when partitioning. This optimizes the physical sectors of the SSD, improving read/write speeds and lifespan.
4. Partitioning: For a 500GB drive, a common "power user" split is 160GB for the OS (C: Drive) and the remainder for Data (D: Drive).
Verdict: Which Model Should You Buy?
The ASUS Mini PC lineup covers three distinct budget tiers. Here is how to choose based on your needs:
• The Budget Saver (approx. $200 range): ASUS PN40
◦ Best for: Digital signage, light web browsing, grandparents, or a basic streaming box.

◦ Specs: Celeron processor, usually paired with 4GB RAM.
• The Sweet Spot (approx. $400 range): ASUS PN60 / PN61S
◦ Best for: Home office, HTPC (Home Theater), student dorms.
◦ Specs: Core i3 or i5, 8GB-16GB RAM recommended. This offers the best balance of price and performance.
• The Power User (approx. $600+ range): ASUS VC66
◦ Best for: Heavy multitasking, server hosting, or compact content creation.
◦ Specs: Utilizes "desktop-class" (standard voltage) CPUs rather than the low-voltage "U" series found in the PN60. Note that the VC66 is physically larger to accommodate the cooling needed for the more powerful processor.
Bottom Line: If you want a clutter-free desk without sacrificing the snappy performance of a daily driver, the PN60 is a top-tier contender in the US mini-PC market. Just remember to watch those thermals if you max out the storage.